
October 2026 · Phoenix Drywall Repair LLC

A ceiling that's starting to bow, bubble, or pull away from the framing is not something to ignore. In a Phoenix home, a sagging ceiling almost always points to one of a handful of specific causes — and some of them get worse fast. The good news is that most sagging ceiling repairs are straightforward once you know what caused it. The bad news is that waiting too long turns a repair into a replacement.
Here's what causes drywall ceilings to sag in the Valley, how to tell whether it's urgent, and what the repair process actually looks like. If you want to skip straight to getting someone out to look at it, call us at (480) 277-6884 or visit our ceiling drywall repair page.
There are four main causes in the Valley. They're not always easy to tell apart from the ground, which is why a hands-on inspection matters before any repair starts.

Water damage is the leading cause of sagging drywall ceilings in the Valley
Water saturates drywall and destroys its structural integrity fast. A half-inch of standing water in a ceiling panel is enough to cause visible sag within a few days. In Phoenix, ceiling water sources include:
Water-damaged drywall feels soft, discolors brown or yellow, and may smell musty. If the sag is soft to gentle pressure, assume water is involved until proven otherwise. Do not push on a soft ceiling — it can release without warning and come down in a section.
Drywall is held to ceiling joists with screws (or nails in older homes). Over time, those fasteners can back out from the wood framing due to thermal expansion cycles, wood shrinkage, or original installation with too little penetration. When enough fasteners fail in a section, the panel begins to pull away from the framing and sag. This type of sag is usually firm to the touch, not soft, and is often accompanied by a visible seam or gap along the edges of the panel.
Phoenix homes experience dramatic temperature swings — attic temperatures can hit 150°F in summer while interior rooms are kept at 75°F. That daily 75-degree differential causes constant movement in the framing. Over 20–30 years, it takes a toll on fasteners.
Ceiling drywall is heavier than wall drywall — a full 4×12 sheet of 5/8" type X can weigh over 100 pounds. If it was hung with insufficient fasteners, with fasteners placed too far from the edges, or without adequate blocking at seams between joists, sagging can develop years later as the initial installation slowly gives way. This shows up as a gradual bow in the middle of a large ceiling section.
Truss uplift is a specific phenomenon where roof trusses bow upward in winter months (less common in Phoenix) or — more relevant here — where settlement of the slab foundation causes differential movement in the ceiling framing. This typically produces a crack along the ceiling perimeter or along a beam line, sometimes accompanied by door and window binding. If the sag follows a crack that runs parallel to interior walls, get a structural opinion before starting drywall repair.
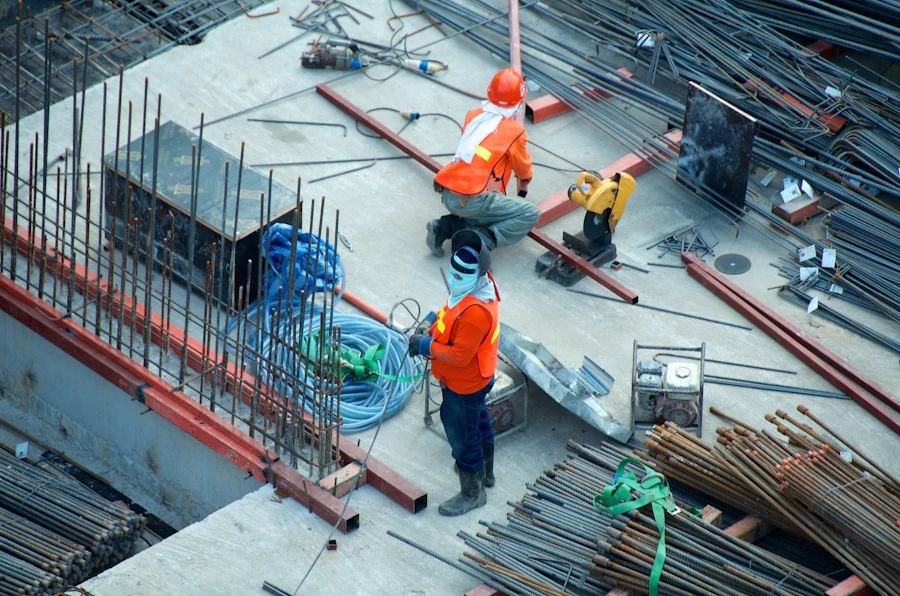
Ceiling repairs require the right backing, fasteners, and compounds
Sometimes, and the distinction matters.
Urgent situations: If the ceiling is actively wet, if you can see it moving or hear it cracking, or if a section larger than about 2 square feet is visibly separated from the framing — treat it as a safety issue. Keep people out of the room and call for an emergency repair. A saturated section of drywall can release suddenly. This isn't theoretical; it happens.
Non-urgent but don't wait too long: If the sag is dry, firm, and has been stable for a while, you likely have time to schedule a repair without emergency urgency. But don't let it go for months. A small fastener-failure sag that could be fixed with a day's work becomes a larger replacement job if more fasteners let go in the interim.
When in doubt, call and describe what you're seeing. We can usually tell over the phone whether it warrants same-day attention or a scheduled appointment.
The approach depends on the cause and the extent of the sag. Here's what a typical repair looks like for the three most common scenarios.
First, confirm the water source is fixed — we won't patch over an active leak. Then: cut out the damaged material back to solid drywall on all sides, check for mold (if present, it gets treated before closing the ceiling), install backing between joists if needed, hang new drywall, tape, three coats of compound with drying time between each, texture to match, prime with PVA, and the ceiling is ready for your painter. Minimum two visits; typically 2–3 days start to finish including drying time.
If the damage extends across multiple panels or the surrounding area is also compromised, we'll cut back to the nearest joists on all sides and replace the full sections. This ensures clean edges that can be properly taped and avoids weak spots at the patch perimeter. Texture matching across a large ceiling area requires feathering and careful technique — rushing this step is where most visible ceiling repairs go wrong.
If the panel is intact and just pulling away, we can often re-secure it: drive new screws through the existing drywall into the joists, fill and feather the screw dimples, re-tape any opened seams, texture, and prime. This is faster and less expensive than full replacement. The key is making sure the re-secured panel is actually tight to the framing and won't sag again — which means using the right screw pattern and confirming joist location before closing up.
Any ceiling that's been wet for more than 24–48 hours can develop mold, and Phoenix attic conditions (heat, occasional humidity) can accelerate it. When we open a water-damaged ceiling, we inspect the cavity above. Surface mold on drywall paper is handled by removal — we don't encapsulate drywall mold, we cut it out. Mold on the framing wood or in the insulation above may require a licensed mold remediation contractor before we close the ceiling. We'll tell you what we find and what the right call is.
See our post on monsoon season drywall damage for more on how water intrusion progresses and when to call a mold remediator.
Pricing depends on size, cause, and complexity of texture matching. General ranges:
These ranges assume the water source is already fixed and no mold remediation is needed. Travel minimums apply for small jobs in outer service areas. Use our instant quote tool for a more specific estimate, or call us and describe what you're seeing.

A completed ceiling repair — properly taped, textured, and primed, ready for paint
Minimum two visits for any patch that involves tape and compound. Joint compound applied in the first coat needs to dry fully before the second coat goes on — in Phoenix's dry heat, that's typically 4–8 hours for thin coats, longer for thicker fills. Three-coat work plus texture and prime runs 2–3 days from first coat to ready-to-paint. We'll give you a specific schedule when we see the job.
One-day ceiling repairs that involve tape coats are rushed — either the compound is applied too thick, the coats are applied before the previous one is dry, or steps are skipped. You'll see the results within six months: cracks along seams, texture that lifts, or a patch that reads differently than the surrounding ceiling.
Call immediately if: the ceiling is actively wet or soft, the sag appeared after a storm or plumbing event, or the sagging section is over a high-traffic area. Don't wait to confirm the water source is fixed — that's the first call, but you can schedule the drywall repair simultaneously.
Schedule within a few weeks if: the sag is dry, the cause is understood, and the section is small and stable. Most ceiling repair jobs can be scheduled 1–2 weeks out during normal season. During peak monsoon season (July–August), wait times can stretch — plan accordingly if your home is prone to roof leaks.
Call, text, or use our instant quote tool. We answer questions directly — no runaround.
(480) 277-6884 ⚡ Instant Quote →Related: Ceiling Drywall Repair Phoenix · Water Damaged Drywall Repair · Back to Blog
External resources: EPA: Mold and Health · Verify a Contractor License — AZ ROC · IICRC: Find a Water Damage Restorer